
Finding the right lighting setup can feel overwhelming when every room in your home has different needs and layouts. For busy urban homeowners who value safety, comfort, and style, making smart upgrades often means juggling limited time and technical know-how. This guide shows how to create a truly intelligent home by focusing on efficient lighting design with wireless solutions that adapt to each space and require no electrical expertise.
| Key Point | Explanation |
|---|---|
| 1. Assess lighting needs first | Walk through your space to identify specific lighting challenges and functional requirements for each room before selecting fixtures. |
| 2. Gather necessary tools beforehand | Organize tools like screwdrivers and voltage testers to streamline the installation process and ensure safety during setup. |
| 3. Securely install fixtures | Follow manufacturer instructions for mounting and connecting power sources, ensuring the fixtures are safely and properly installed. |
| 4. Integrate smart controls | Pair your wireless lights with compatible smart control systems and configure motion sensors to automate lighting based on occupancy. |
| 5. Test and optimize lighting functions | Confirm that all lighting controls are functional and make adjustments to enhance performance, comfort, and energy efficiency. |
Setting up wireless lights for your smart home starts with understanding your specific lighting requirements. Efficient lighting design begins by evaluating your space and identifying areas that need enhanced illumination or automated control.
First, walk through each room and analyze your current lighting challenges. Consider factors like room size, natural light availability, and specific functional needs. Do you want motion-activated hallway lights? Ambient kitchen lighting? Bedside lamps that turn on automatically? Look for wireless fixtures that offer flexibility in placement and control. Wireless communication protocols like Bluetooth Mesh and Thread allow for easy integration and future upgrades.
Prioritize LED fixtures with energy-efficient designs that can communicate wirelessly. Focus on low-voltage options that simplify installation and provide smart control capabilities. Pay attention to sensor compatibility such as passive infrared and ambient light detection to create truly intelligent lighting solutions.
Here is a comparison of common wireless lighting communication protocols and their suitability for smart home use:
| Protocol | Range Coverage | Energy Efficiency | Upgrade Flexibility |
|---|---|---|---|
| Bluetooth Mesh | Whole-house scale | Very low power | Easy to expand network |
| Thread | Home-wide coverage | Low power consumption | Designed for future devices |
| Zigbee | Large area support | Low energy use | Integrates with many hubs |
| Wi-Fi | Depends on router | Higher energy draw | Broad compatibility |

Pro tip: Create a quick sketch of each room highlighting potential wireless light placement to visualize your smart lighting strategy before purchasing fixtures.
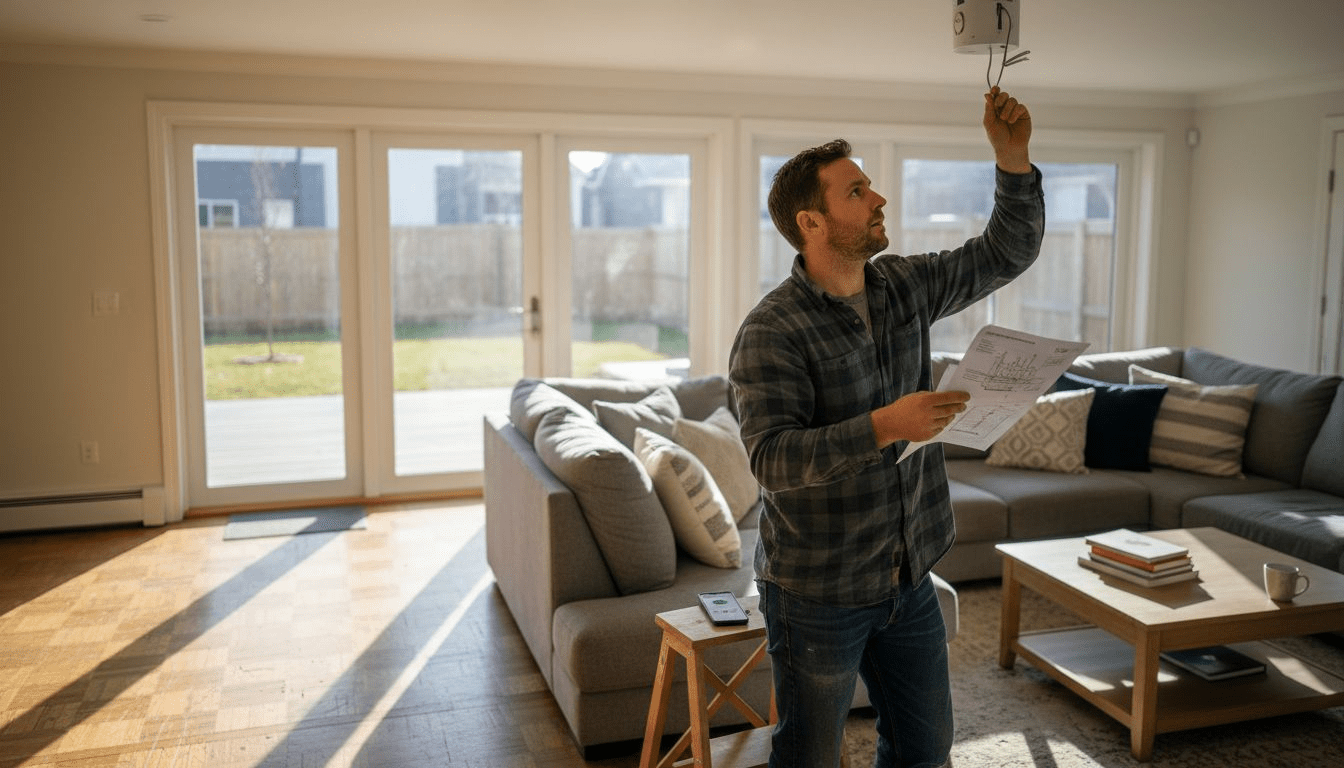
Before diving into your wireless lighting project, you will need to set the stage for a smooth and efficient installation. Surveying your space involves carefully examining each area where you plan to install wireless lights and understanding the specific requirements for placement.
Start by gathering all necessary tools and equipment. You will need a variety of items including screwdrivers, wire strippers, voltage testers, and a sturdy ladder. Verifying electrical safety conditions is crucial before beginning any installation. Check that your existing electrical infrastructure can support the new wireless fixtures and ensure you have compatible smart switches or wireless hubs ready for integration.
Take time to clear existing light fixtures and create a clean workspace. Confirm your home’s Wi-Fi or mesh network provides stable coverage in the areas where you plan to install smart lighting. This will guarantee reliable communication between your new wireless devices and prevent potential connectivity issues during setup.

Pro tip: Create a dedicated workspace with all tools organized and within reach to streamline your wireless lighting installation process.
Now comes the exciting moment of transforming your space with wireless lighting. Securing wireless light fixtures requires careful attention to mounting techniques and electrical safety guidelines. Follow the manufacturer’s specific instructions for each fixture to ensure proper installation and optimal performance.
Begin by marking precise mounting locations, using a level to guarantee straight placement. Drill pilot holes and insert appropriate wall anchors that can support the weight of your wireless lights. Carefully connect power sources whether through existing wiring or battery installations. For hardwired fixtures, always turn off electrical power at the circuit breaker before making any connections to prevent potential electrical hazards.
After mounting, verify electrical connections by testing each light thoroughly. Check that all connections are secure, polarity is correct, and the fixtures are stable. Restore power slowly and systematically, testing each light to confirm proper functionality and wireless connectivity.
Pro tip: Take clear photos of your wiring configuration before disconnecting anything to help you remember the original setup during installation.
With your wireless lights installed, the next critical step is integrating smart controls that will transform your lighting experience. Wireless sensor networks offer sophisticated options for automating your home lighting through advanced occupancy detection and adaptive illumination technologies.
Start by configuring your motion sensors to match each room’s specific requirements. Passive infrared and microwave Doppler sensors can detect human presence and adjust lighting accordingly. Position sensors strategically to cover key areas while avoiding unnecessary activation. For living spaces, consider sensors with adjustable sensitivity that can distinguish between significant movement and minor ambient activity.
Pair your wireless lights with smart control hubs that support multiple communication protocols. Ensure compatibility between your fixtures and control systems, allowing for seamless integration. Test each sensor and control point systematically, verifying that lights respond correctly to movement, ambient light levels, and programmed schedules. This approach will create a responsive lighting environment that adapts intuitively to your daily routines.
Pro tip: Map out your sensor placement on a room diagram before installation to optimize coverage and minimize false triggers.
This summary highlights the main types of smart lighting control methods and their unique benefits:
| Control Method | Description | Primary Benefit |
|---|---|---|
| Motion Sensor | Activates via movement | Hands-free operation |
| Mobile App | Control from smart device | Remote adjustments |
| Voice Assistant | Uses spoken commands | No need for physical touch |
| Physical Smart Switch | Wall-mounted control | Familiar manual switching |
With your wireless lighting system installed, it is time to verify and fine-tune its performance. Testing smart lighting systems requires a systematic approach to ensure all features function exactly as you intend.
Begin by checking basic controls through multiple interfaces. Test on/off functionality using physical switches, mobile app controls, and voice assistant commands. Verify dimming capabilities across different fixtures, ensuring smooth transitions and consistent performance. Adjust motion sensor sensitivity to prevent unnecessary activations while maintaining reliable occupancy detection. Create custom lighting scenes that match different activities like reading, entertaining, or relaxing to maximize the system’s versatility.
Pay close attention to automation schedules and trigger settings. Configure your system to align with your daily routines, such as gradually increasing brightness in the morning or reducing light levels during evening hours. Conduct thorough tests during different times of day to confirm that sensors respond accurately and lighting adjustments happen seamlessly. Monitor energy consumption and make incremental adjustments to optimize both comfort and efficiency.
Pro tip: Create a dedicated testing checklist to systematically verify each lighting function and record optimal settings for future reference.
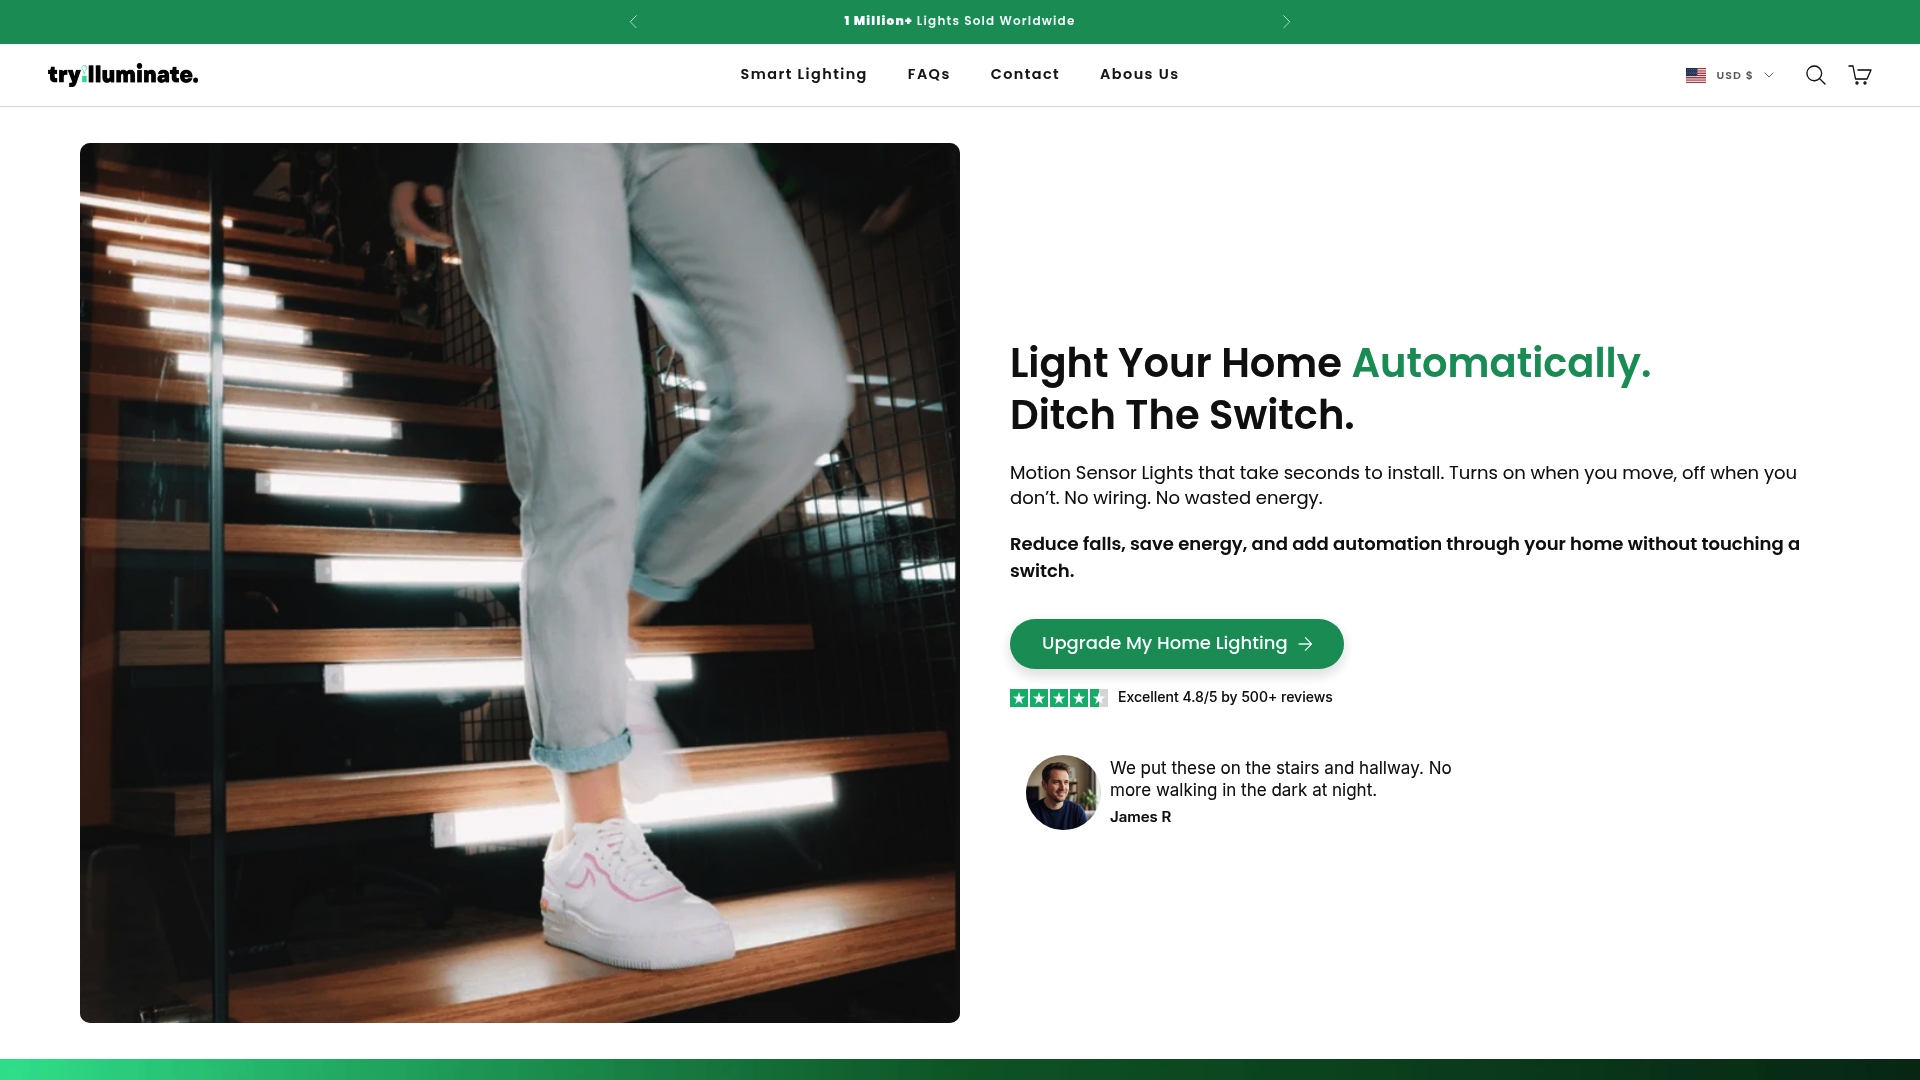
Setting up wireless lights can be challenging when you want seamless motion detection, reliable wireless control, and hassle-free installation. If you are seeking smart lighting that responds to your daily routines without complex wiring or expensive setups, this is your solution. The key is choosing energy-efficient fixtures that offer true convenience and safety through wireless connectivity and motion sensors.
Explore our Smart Motion Sensor Lights Collection designed specifically for quick, tool-free installation and intelligent automation. These products help you enhance your home’s ambiance and security by providing responsive lighting in hallways, kitchens, stairs, and closets. With rechargeable and daylight-detecting features, you get the perfect balance of comfort and energy savings.
Take the next step toward effortless smart home lighting today. Visit TryIlluminate.co to find the ideal wireless lights that fit your space and lifestyle. Don’t wait to experience reliable, customizable lighting that transforms your home environment with simplicity and safety.
To effectively set up wireless lights, evaluate each room’s size, natural light, and any specific functional requirements. Walk through your home and identify areas that need better lighting or automation, such as motion-activated hallways or ambient kitchen lights.
Before installation, gather necessary tools like screwdrivers, wire strippers, and a voltage tester. Clear the area of existing fixtures and ensure your home’s Wi-Fi provides stable coverage for the new wireless lights to function properly.
Secure your wireless light fixtures by carefully following the manufacturer’s instructions. Mark mounting locations, drill pilot holes, and double-check electrical connections before restoring power to confirm everything works smoothly.
Integrate smart controls by pairing your wireless lights with motion sensors or smart control hubs that support multiple protocols. Test the sensors and controls to make sure the lights respond accurately to movements and scheduled commands.
Test the lighting functions through various interfaces like physical switches and mobile app controls. Adjust sensor sensitivity and create custom lighting scenes tailored to different activities, ensuring the system adapts well to your daily routines.
Create a dedicated testing checklist that includes verifying on/off functions, dimming capabilities, sensor responsiveness, and automation schedules. Record optimal settings to keep your wireless lights operating efficiently and comfortably.
Wireless Lighting Installation Process for Smart Homes
Learn the complete wireless lighting installation process for smart homes. Follow simple step-by-step actions to easily upgrade and verify your lighting system.
Read more
Home Lighting Automation Explained: Smarter Living
Home lighting automation explained for modern homeowners—learn types, how wireless systems work, key features, costs, benefits, and DIY mistakes to avoid.
Read more