
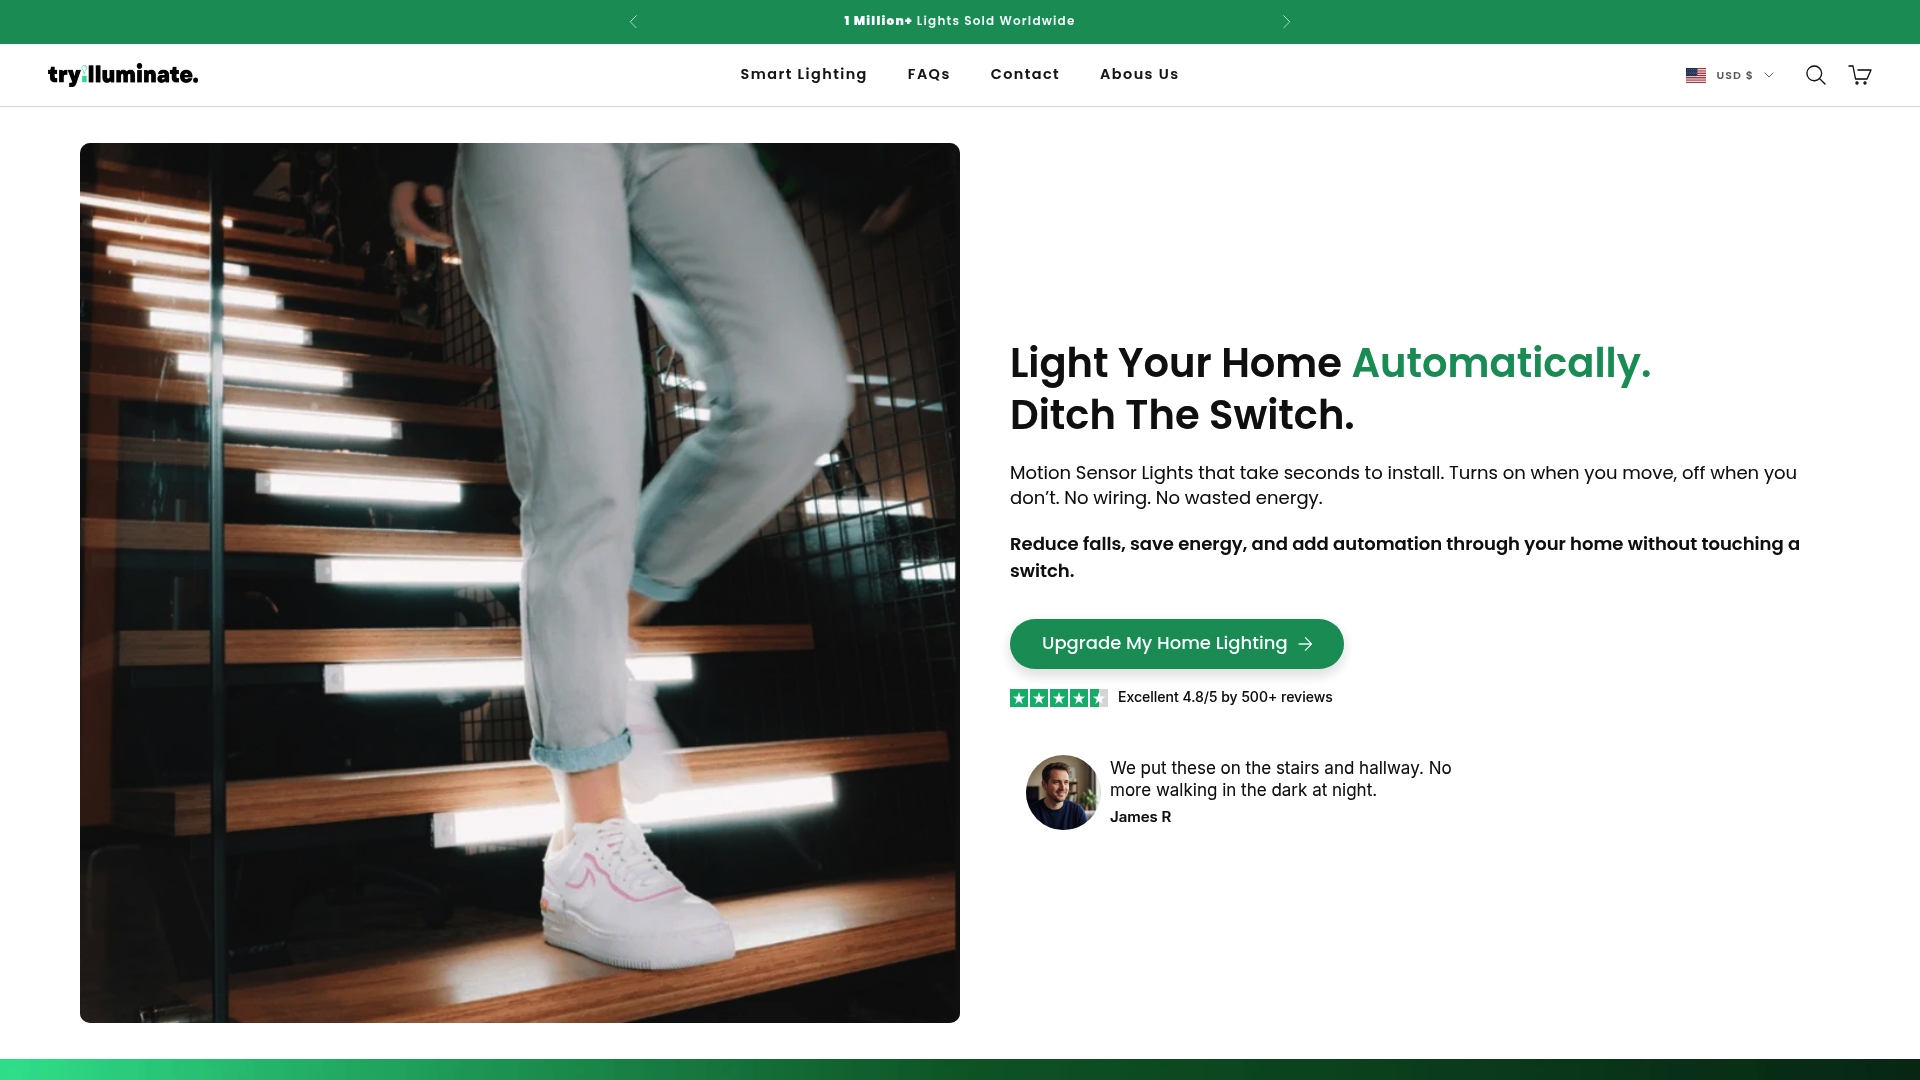
Finding the perfect balance between comfort, energy savings, and effortless control can be frustrating when your current lighting feels outdated or inefficient. Smart lighting technology gives you the freedom to customize every room for safety, style, and convenience, all while saving energy by automatically turning lights off or adjusting brightness when not needed. This guide uncovers actionable steps for evaluating your home’s setup and upgrading to a smarter, more responsive lighting ecosystem that fits a busy lifestyle.
| Key Point | Explanation |
|---|---|
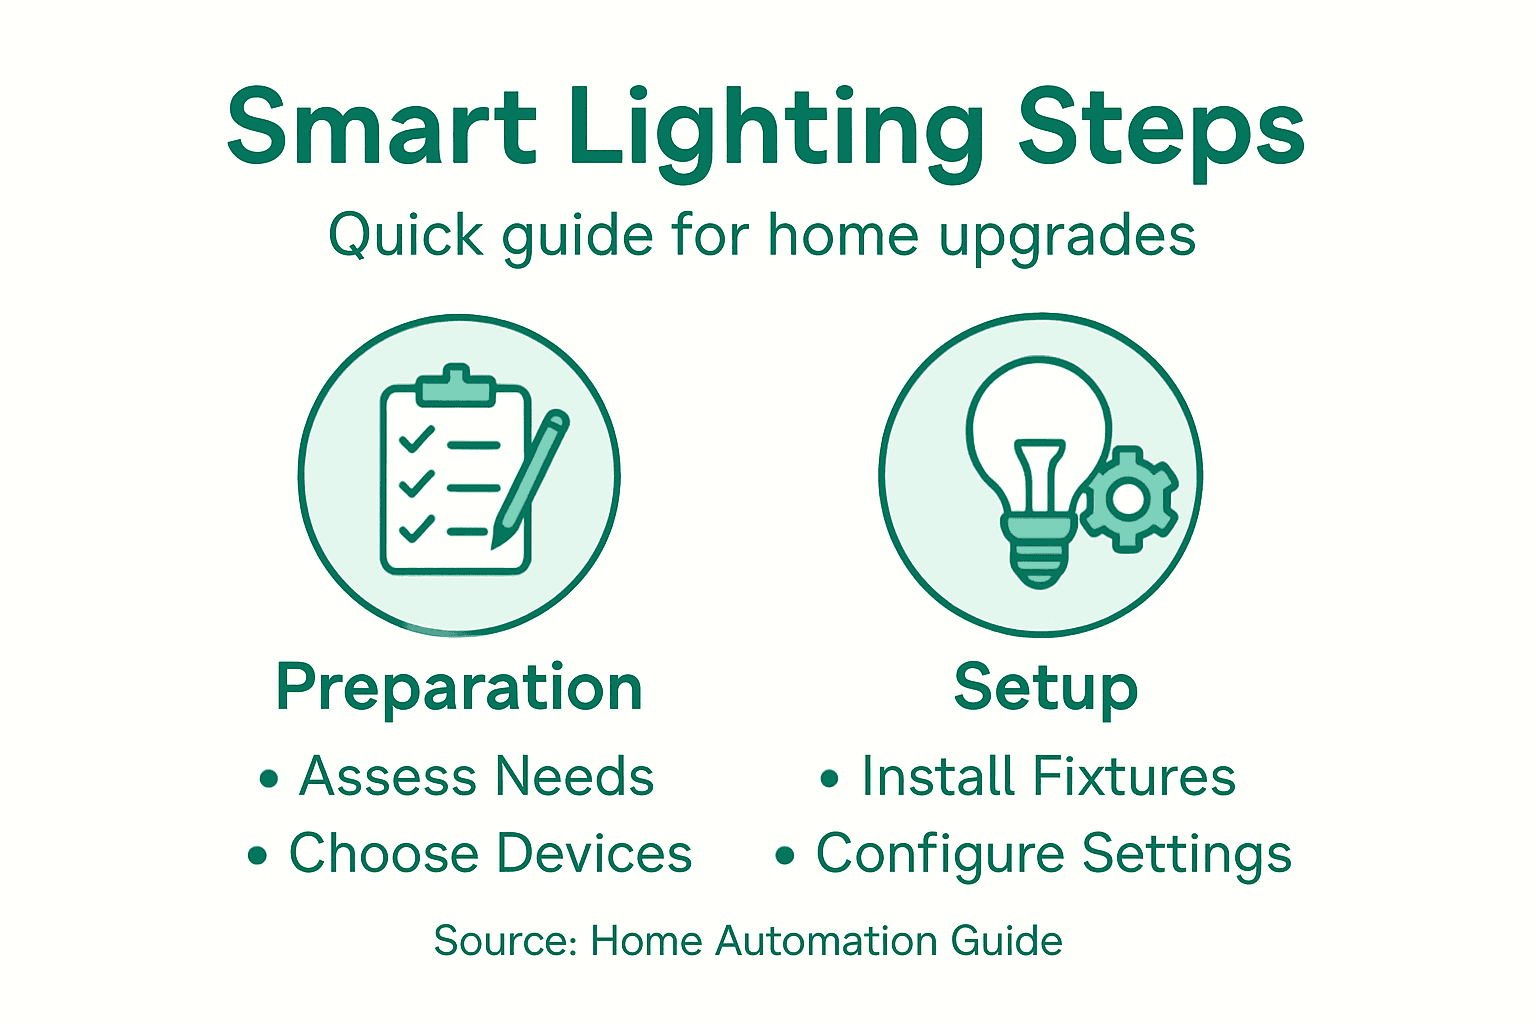
| 1. Assess current lighting setup | Create a detailed floor plan and document each lighting fixture’s type, wattage, and placement for efficient planning. |
| 2. Choose tailored smart lighting solutions | Select smart lighting based on room needs and compatibility, focusing on enhancing comfort and energy efficiency. |
| 3. Install wireless fixtures easily | Modern wireless fixtures require no tools; follow a simple plug-and-play process for quick installation. |
| 4. Configure for automation and efficiency | Set up schedules, occupancy detection, and daylight adaptation to optimize energy use and enhance convenience. |
| 5. Test functionality and ambiance settings | Verify all automation features and fine-tune lighting scenes to create a responsive, comfortable environment. |
Improving your home’s lighting automation starts with a comprehensive evaluation of your existing lighting configuration. This critical first step helps you understand the current setup, identify inefficiencies, and plan strategic upgrades that will transform your living spaces.
To conduct a thorough lighting assessment, begin by creating a detailed floor plan that maps out every lighting fixture in your home. Walk through each room and document key details like:
Professional lighting system assessment guidelines recommend carefully documenting your current lighting zones and control systems. Pay special attention to rooms where you spend the most time, such as living rooms, kitchens, and bedrooms, as these areas will benefit most from smart automation upgrades.
Knowing your current lighting layout is the foundation for creating an intelligent, energy-efficient home automation strategy.
As you document your existing setup, consider the functionality of each space. Some areas might require brighter, more focused lighting, while others need softer, ambient illumination. Your assessment should capture these nuanced lighting requirements to ensure your smart automation delivers optimal performance.
Pro tip: Take smartphone photos of each room’s current lighting setup to create a visual reference that will help you plan and track your smart lighting transformation.
Choosing the right smart lighting solutions requires a strategic approach that considers each room’s unique functionality and your personal lifestyle needs. The goal is to create a customized lighting ecosystem that enhances both comfort and energy efficiency.
Start by evaluating smart lighting device capabilities across different connectivity options and control interfaces. Consider these key factors when selecting solutions:
Smart lighting is not just about illumination—it’s about creating intelligent environments that adapt to your daily rhythms.
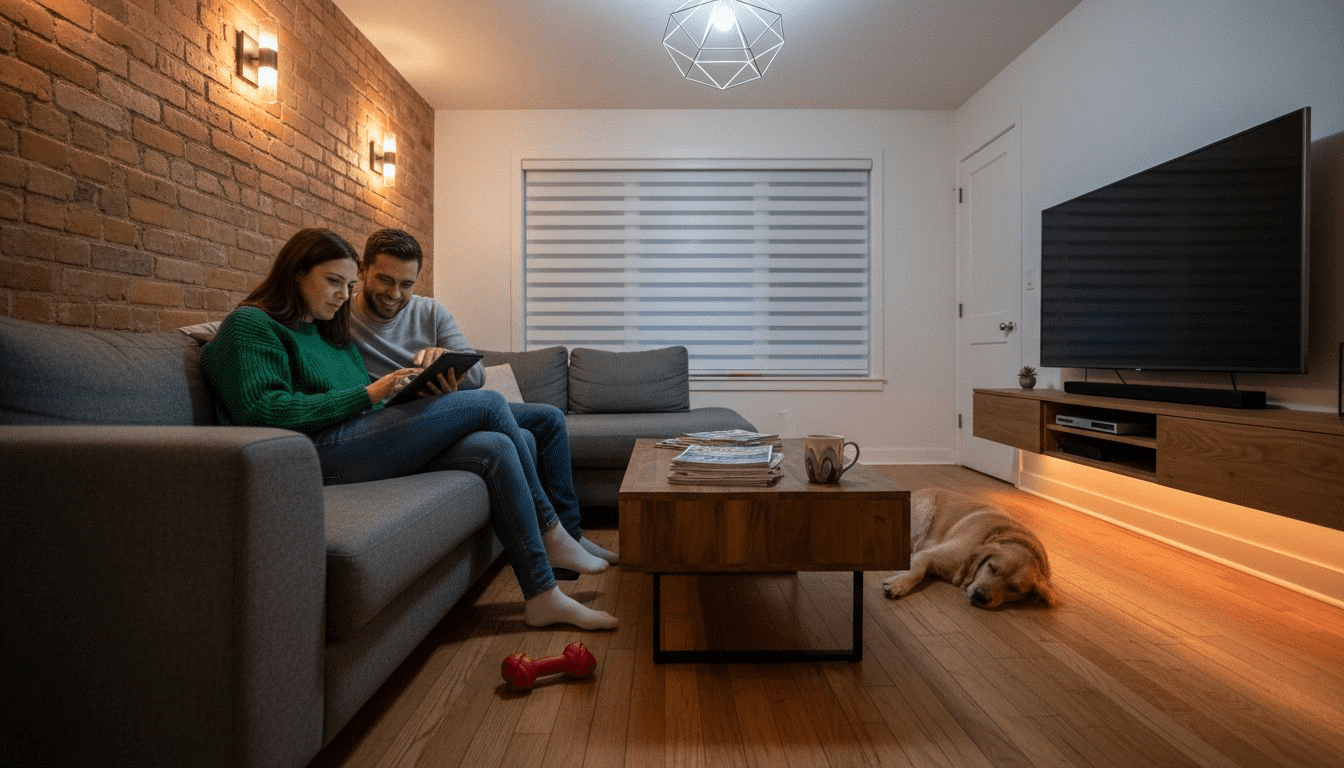
For living areas, focus on versatile fixtures with adjustable color temperatures and dimming capabilities. Bedrooms might benefit from softer, warmer tones with gradual wake-up and sleep modes. Kitchen and workspace areas typically require brighter, more focused lighting that can simulate natural daylight for improved productivity.
Here’s a concise comparison of popular smart lighting control methods:
| Control Method | User Experience | Integration Potential | Ideal Usage Scenario |
|---|---|---|---|
| Mobile App | Intuitive touch controls | High with smart ecosystems | Frequent adjustment, customization |
| Voice Commands | Hands-free activation | Strong with voice assistants | Quick, effortless light changes |
| Wall Switch | Familiar interface | Moderate with smart hubs | Immediate manual override |
| Automation Schedules | Fully independent | Excellent for routines | Automatic daily lighting changes |
Pro tip: Create a spreadsheet comparing different smart lighting solutions to track features, prices, and compatibility before making your final selections.
Transforming your home’s lighting no longer requires complex wiring or professional installation. Modern wireless fixtures are designed for effortless setup that even novice homeowners can complete in minutes. Home automation projects demonstrate how user-friendly these solutions have become.
The installation process typically involves several straightforward steps:
Wireless lighting installations are about simplicity - no electrical expertise required.
Most smart lighting products now feature plug-and-play functionality that eliminates the need for complex tools. Battery-powered motion sensors can be mounted using adhesive strips, while smart bulbs simply screw into standard light sockets. The key is choosing fixtures compatible with your existing home infrastructure and control systems.

Pro tip: Always verify your wireless fixture’s battery type and connectivity requirements before installation to ensure smooth setup and optimal performance.
Configuring your smart lighting system transforms basic fixtures into an intelligent network that responds dynamically to your lifestyle. Networked lighting controls offer unprecedented customization and energy management capabilities that go far beyond traditional on-off switches.
To maximize your system’s potential, focus on these key configuration areas:
Smart lighting isn’t just about illumination—it’s about creating an intelligent living environment that anticipates your needs.
Most smart home apps provide intuitive interfaces for fine-tuning automation settings. Experiment with different configurations to find the perfect balance between convenience and energy efficiency. Some systems can even learn your preferences over time, suggesting optimizations that reduce electricity usage without compromising comfort.
Below is a summary of smart lighting configuration features and their main benefits:
| Feature | Main Benefit | Typical Use Case |
|---|---|---|
| Scheduling | Saves energy, adds convenience | Waking up, bedtime routines |
| Occupancy Detection | Reduces waste, boosts efficiency | Hallways, bathrooms |
| Daylight Adaptation | Optimizes brightness, comfort | Living rooms, home offices |
| Energy Monitoring | Tracks and lowers usage | Overall home energy management |
Pro tip: Start with basic automation settings and gradually increase complexity as you become more comfortable with your smart lighting system’s capabilities.
With your smart lighting system installed, the final crucial step is verifying functionality and fine-tuning the ambiance to match your lifestyle. Lighting controls require comprehensive testing to ensure every feature operates precisely as intended.
Use these systematic verification steps:
Perfecting your smart lighting is about creating an environment that feels natural and responsive to your needs.
Carefully examine how light levels transition throughout different times of day. Some smart systems offer scene settings that automatically adjust brightness and color temperature to simulate natural daylight progression. Experiment with different configurations to find the perfect balance between functional illumination and aesthetic appeal.
Pro tip: Create multiple lighting scenes for different activities like reading, entertaining, or relaxing to maximize your system’s versatility.
Struggling to create a smart lighting system that fits your lifestyle without complex wiring or professional help The article “How to Upgrade Home Lighting for Smart Automation Easily” highlights the challenge of assessing your current setup and choosing the right solutions for effortless home automation. If you want to enjoy automated lighting that adapts to your daily routines and boosts energy efficiency it all starts with the right products that match your home’s unique needs.
Discover the convenience of Smart Motion Sensor Lights Collection at https://tryilluminate.co. These wireless, rechargeable, and tool-free fixtures make installation simple and hassle-free while delivering features like daylight detection and adjustable tones.
Take control of your home lighting now with easy-to-install smart fixtures that enhance comfort and safety without technical headaches. Visit Try Illuminate to explore best sellers and find the perfect lighting upgrades for your living spaces. Start your journey toward smarter, energy-saving home lighting today.
Begin by creating a detailed floor plan that maps out every lighting fixture in your home. Document key details such as fixture types, current wattage, and natural light sources to identify areas for improvement.
Evaluate room-specific lighting needs, compatibility with existing systems, and available control options. Choose features like dimming capabilities or color temperature adjustments to enhance comfort and energy efficiency in each space.
Most wireless smart lighting products come with a plug-and-play setup that requires no tools. Simply unpack the fixture, remove the existing bulb, insert the new wireless fixture, and sync it with your control hub or app within minutes.
Focus on configuring scheduling options, occupancy detection, and daylight adaptation to maximize energy efficiency. Create simple automation like turning off lights when no one is present to reduce energy use by up to 30%.
Test each automation schedule, motion sensor, and control method to ensure they operate as intended. Conduct checks when using different features—like dimming or color changes—to confirm everything is responsive and meets your expectations.
Experiment with various settings to create multiple lighting scenes that suit different activities. For example, set a bright scene for working during the day and softer tones for relaxing in the evening, adjusting levels to get the right feel for each situation.
7 Types of Home Lighting Every Smart Homeowner Should Know
Discover 7 types of home lighting that boost safety, energy savings, and ambiance. Learn practical tips for easy DIY smart upgrades in every room.
Read more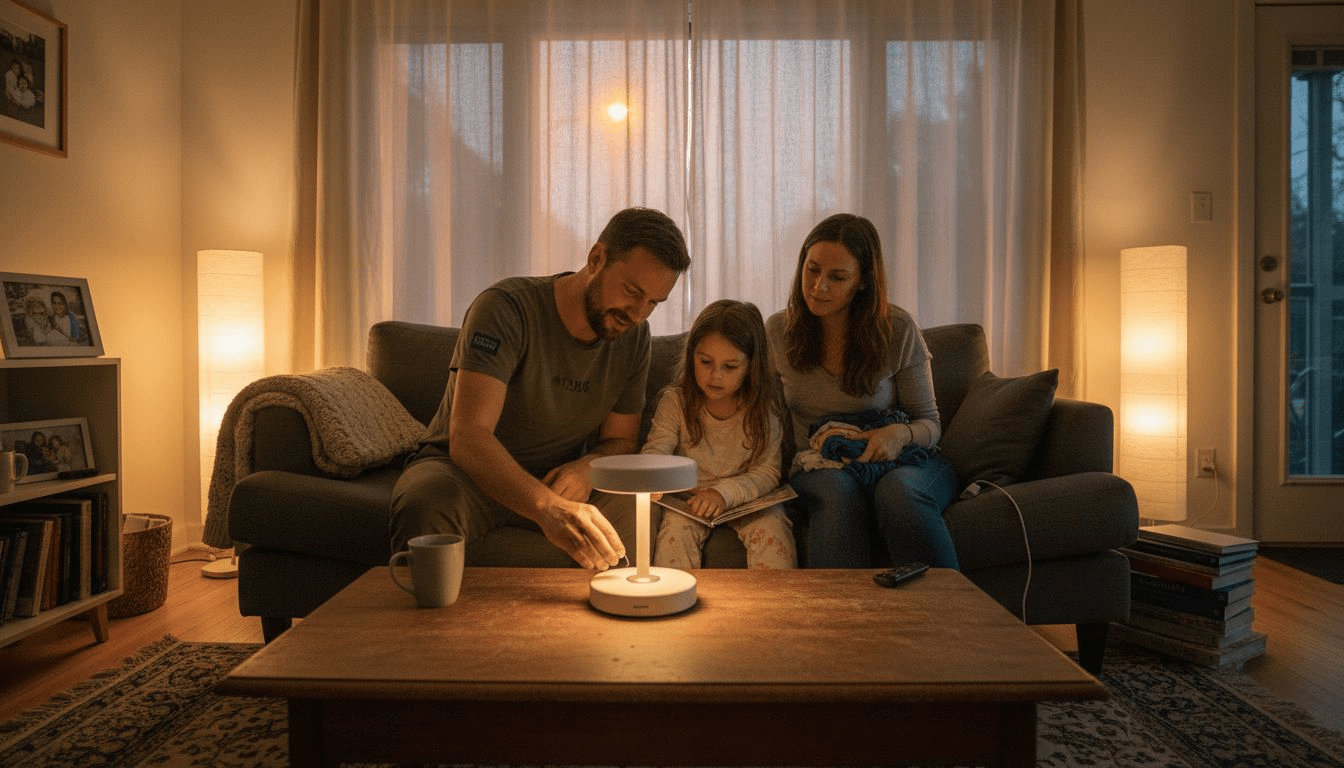
Role of Rechargeable Lights – Enhancing Home Safety and Ambiance
Role of rechargeable lights in smart homes: Explore types, how they work, real uses, energy savings, safety, and common pitfalls for homeowners globally.
Read more